Git Cheatsheat for beginners with VSCode

Freelance Web & UX Designer from Incredible India. I design and develop creative websites, landing pages and applications for startups and e
I decided to start with Git & Github for one of my existing projects.
I started with creating a Github Repo with my account.
Mistake #1
I initiated the repo with Readme & .gitignore. Since I already have a project to publish to GitHub, you should keep it blank, or otherwise, you will get an error asking to pull first, and that pulling will also fail due to history unmatch error, same as me :)
Initialize Git
First, install git from https://git-scm.com/, and it's better to install Powershell as well if not installed before. (Only for Windows users 😋)
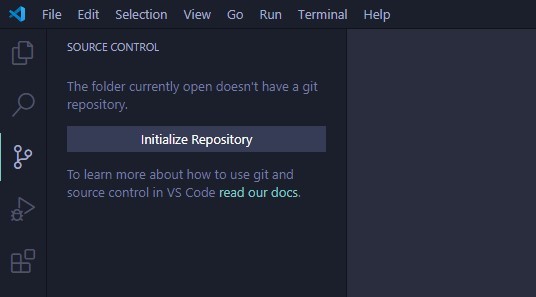
Then open the project folder in VSCode and click the third icon from the left menu called "Source Control" and click "Initialize Repository"
Terminal way.
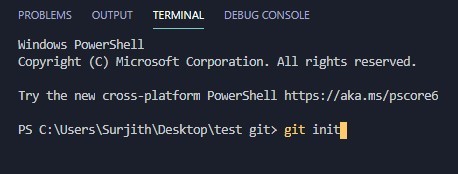
Open VSCode and press Ctrl + ` to open integrated terminal. In my case it's Powershell.
Now type the following command.
> git init
Adding a Remote Server (Connect to Github)
Inside VSCode press CTRL+SHIFT+P and type "Git Origin", Select the same from the list and add your Origin URL (ie GitHub *.git URL)
The same can be done via a terminal. See below.
$ git remote add origin https://github.com/user/repo.git
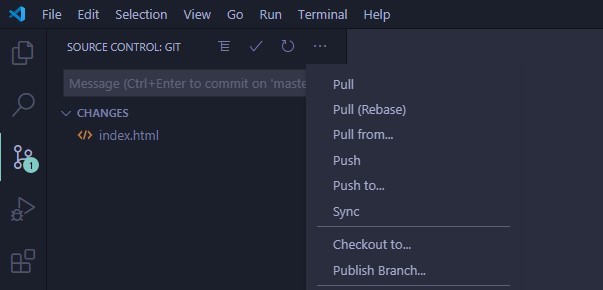
Once added you can commit your changes by clicking the "Tick Icon" in the Source control Tab. When you are ready to push to GitHub, click the 3 dots ... menu and choose "Push".
This is where I did wrong. As I already have an existing project but Github is initiated with Readme, it asks to pull first. When doing that it pops another error that says the history is not matching.
If you got this error, please read Mistake #1 to avoid this later. For now, you can use the below code to overwrite it.
$ git pull origin main --allow-unrelated-histories
Adding multiple Origins
Sometimes you want to add multiple origins when you have to use bitbucket or GitHub or even with two different accounts on GitHub. In that case, you can run the following command to add a new origin. Change originname with your origin name. It can be any text.
$ git remote add originname https://github.com/another_user/another_repo.git
Now when you need to push this to that particular origin, run the following:
$ git push originname main
Git Stash & POP
This is useful when there are multiple people working on the same project or working on multiple branches. It won't work if you have existing commits. In that case, you can check the merge option below.
What Git Stash does is save all of our working files in temporary storage and revert to the original state. So that we don't lose our changes. From there you can pull the latest and commit using Git Stash Apply or Pop.
When do you need this?
- When any other developer modified the same files and you want to see/work on that updated files.
- When you mistakenly worked on the X feature branch but should actually be the Y feature branch.
Commands
$ git stash
// Stash current directory and revert to original

$ git stash save "message"
// save in a separate stash (multiple stash)

$ git stash list
// See current stash

$ git stash apply
// Apply saved stash but keep the stash

$ git stash pop
// apply saved stash and delete
Then after these commands, you will be able to pull/push as usual.
Some StackOverflow answers also mention the use of --force or -f tag but if it's in the case of the big project it might get messed up.
Git Checkout Branch
A branch is a powerful feature in git where you can make edits to a project without affecting the main source code.
Checkout existing branch
To checkout existing branch, use the following command
$ git checkout existing-branch-name
Creating a new branch
To create a new branch, use the following command
$ git checkout -b new-branch-name
These commands will change the current working directory to your newly selected branch.
Git Merge
Suppose you are working on a feature branch, while in development, the master is getting new updates from other pull requests. Now if you want to get those latest features on your branch, you can use the following code.
git merge master
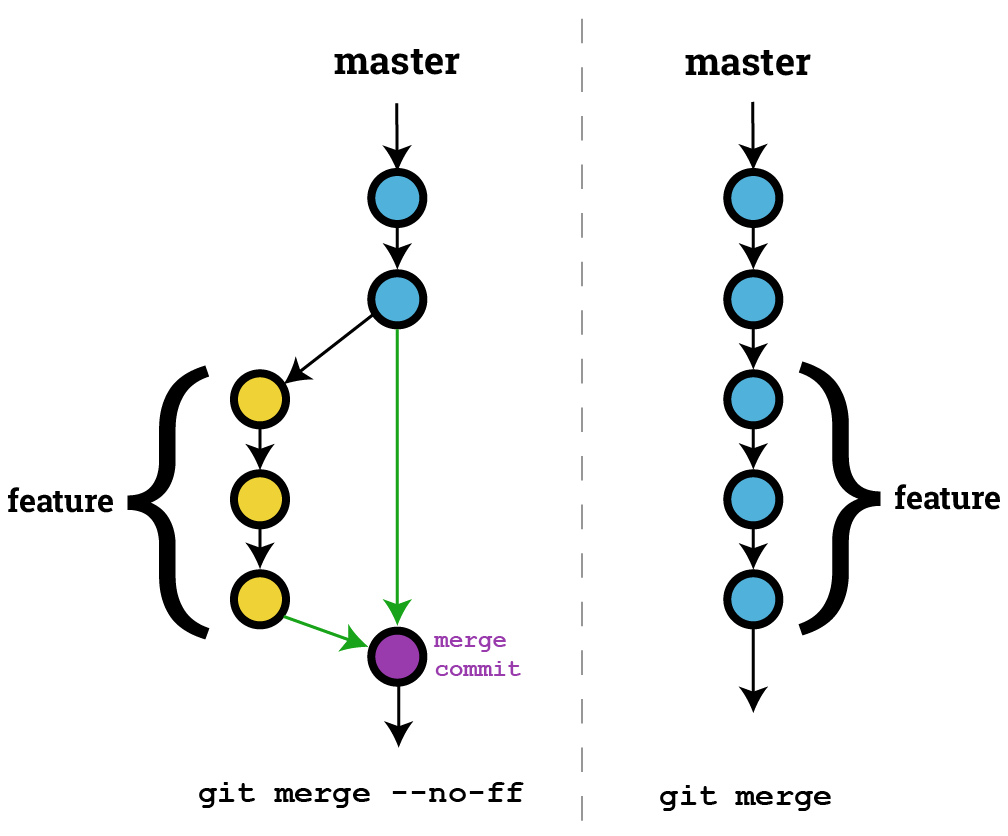
If you want to keep track of the branch and don't want so shift HEAD, you can use the following no-fast-forward flag.
git merge --no-ff master
Here's an image to understand it better:
PS: Make sure your local master is up to date with the remote (
git pull) as the merge will use the files from the local master only.
I will be adding more findings when I learn them, If you have any suggestions to improve my Git workflow, comment below.
Peace!


