

Ultimate Email Forwarding Guide + Send Reply
How to Send, Receive & Manage all of your email addresses in one Gmail Account.


Imagine you have 5-6 different emails for different purposes, like your personal, work, side projects, etc. Managing those will be a nightmare since you have to literally set up each account and open it every day to check and respond.
But what if there is a way to manage them all in one place? In your Gmail? Yes, it's a bit hacky but you can do the following on your personal Gmail account.
- Use your Personal Gmail as usual
- Forward other (
@domain.com) emails to your Gmail - Send Replies from Multiple
@domain.comautomatically
Step 1 - Email Forwarding
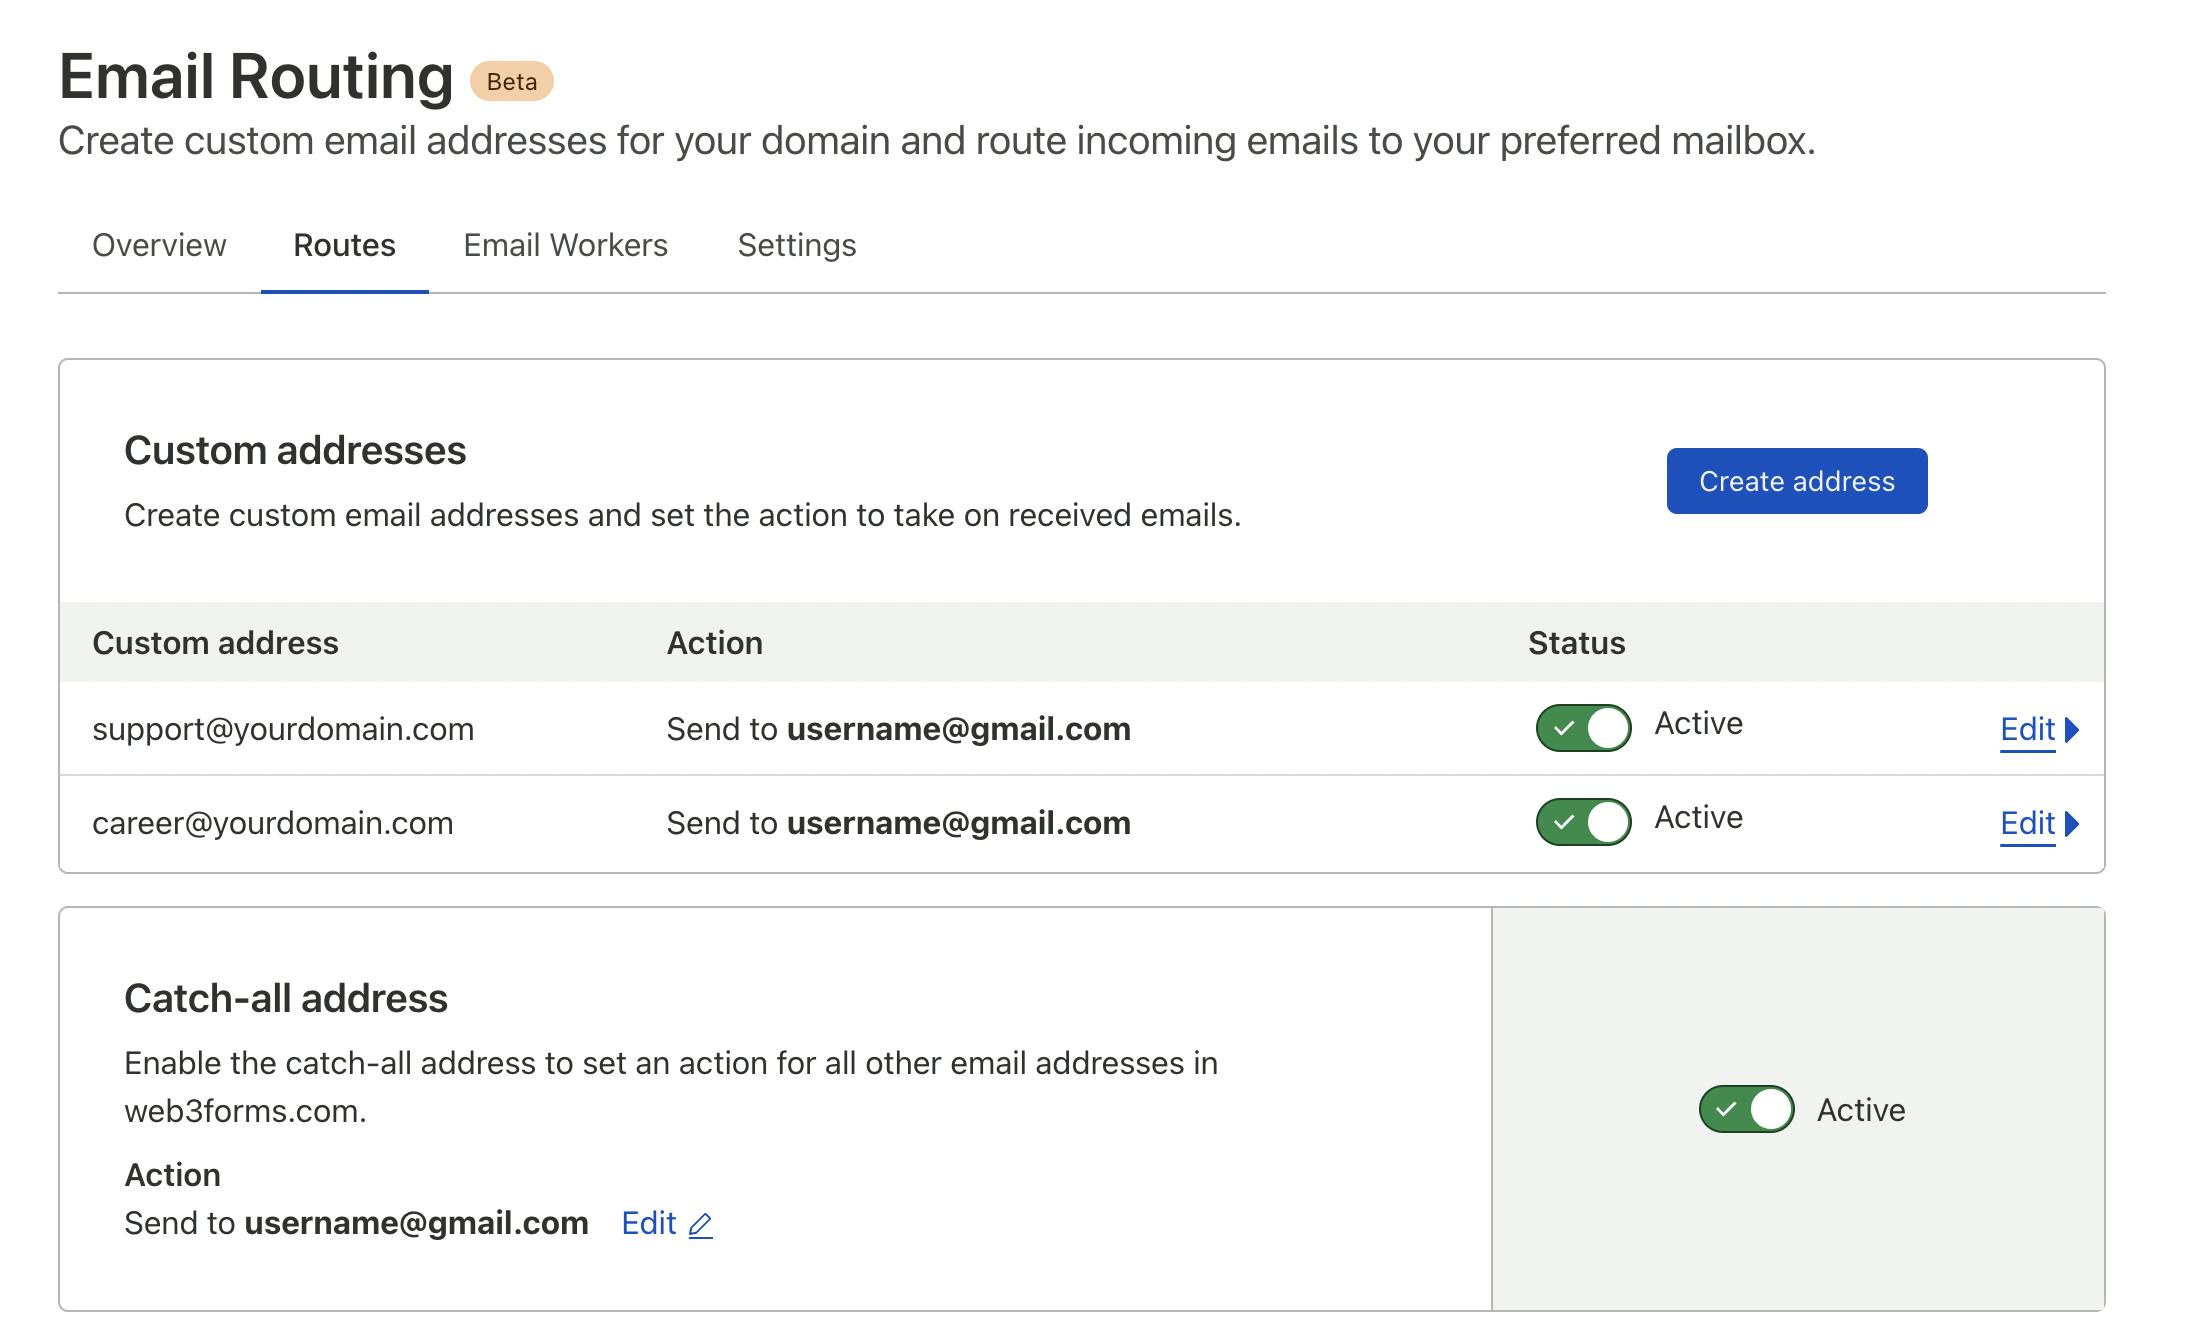
The first step is to forward your domain email address to your personal Gmail. Email Forwarding is supported by most domain registrars and it's free. Just check your registrar's help docs to find this option.
In my case, I'm using Cloudflare, which provides this option for free. So I forwarded my @domain.com email to my personal email address.
Here are some links to popular registrars for email forwarding docs.
Make sure the MX records in the DNS matches the Email forwarding service you use.

Step 2 - Send Email & Reply from Gmail
In this step, we will set up sending emails from your custom domain alias from Gmail. Gmail auto-selects the email alias based on which address you received the email. When you receive an email to your personal email you@gmail.com, then you can reply to it from that email. Otherwise, If the email is sent to you@domain.com then you can reply to it from the same domain alias.
Follow the steps to set it up!
Note: You can skip this step if you want to use an external SMTP Server. Just go to step 3 and add your SMTP Details.
1. Enable 2-Step Verification
2-Step Verification is mandatory for using email as an alias in Gmail. Click on the following link to enable it
Enable Enable 2-Step Verification
2. Generate your App Password
Visit “App passwords" from Manage Account -> Security.
Direct Link: myaccount.google.com/apppasswords
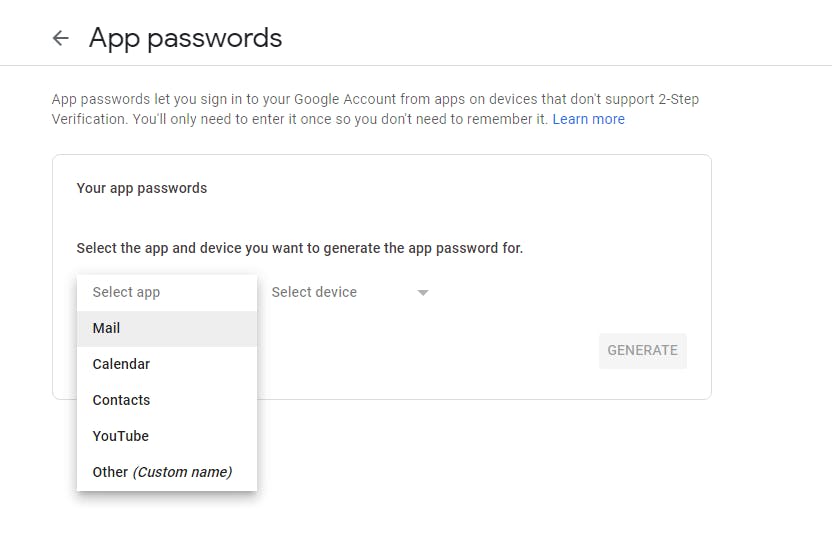
- Under “App passwords" click Select app and then
Mail. - Click Select device and then
Other. - Enter the custom name (eg: your email address) and click Generate.
- From the app password box, copy the 16 character password generated.
You'll need this password for the next step. Paste it in a safe place.
Important: If you are using Google Workspace, visit your Workspace Settings for Gmail -> Advanced settings and make sure to check "Allow users to send mail through an external SMTP server...".
3. Add an email alias
Go to Gmail and under Settings -> Accounts and Import -> Send mail as, click "Add another email address"
Then enter the Name that you want your email to be seen as "From". For "Email address", enter the email address with the custom domain you used above (e.g. hello@web3templates.com)
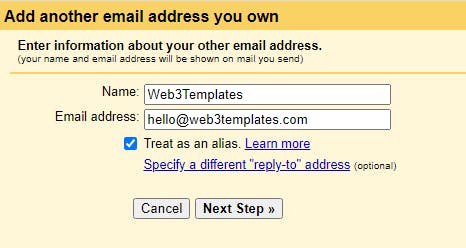
Confirm that "Treat as an alias" is marked, and click "Next Step" to proceed.
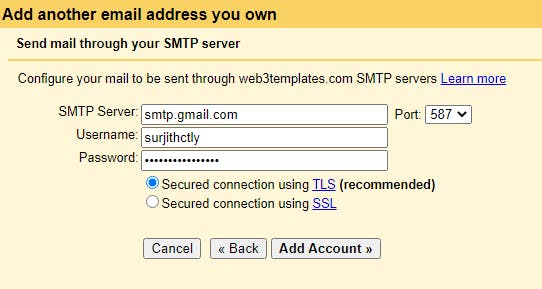
On the next page, In the "SMTP Server" field, enter smtp.gmail.com. and leave the port as 587
In the "Username" field, enter the portion of your Gmail address without the gmail.com part (e.g. just "user" if my email is user@gmail.com)
Fill in the "Password" field with the password you generated above.
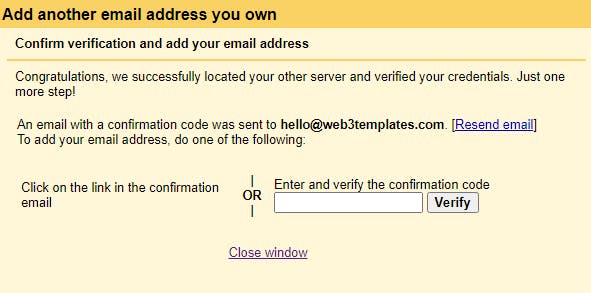
Now, you will receive an email from Gmail with a confirmation code. Since you have set up the forward already, you should see It in your Gmail itself. Open that email and copy the code and paste it to the following screen.
Final Step
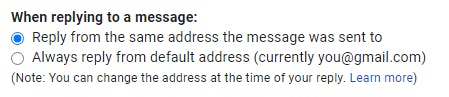
Now, open your Gmail settings -> Account & Imports -> "Send Mail as". Then check the radio button says "Reply from the same address the message was sent to"
Done 🎉
Congratulations! You've successfully completed all steps. Now you will be able to receive & send emails from your own custom email address inside your Gmail Account. Make sure to test it from a different email address (Don't test from the same email).
Let me know what you think in the comments.